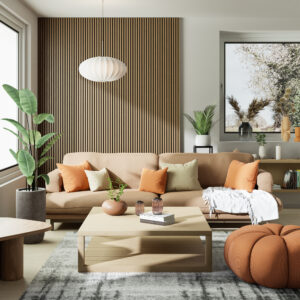
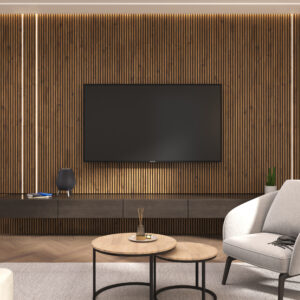
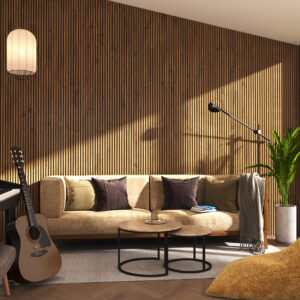
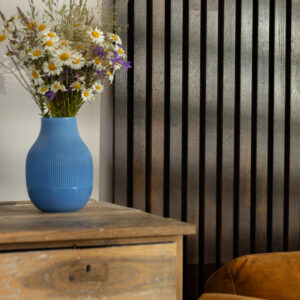
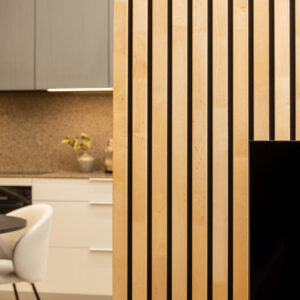
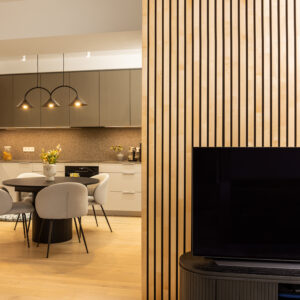
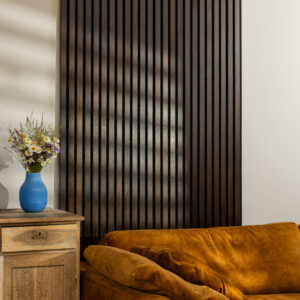
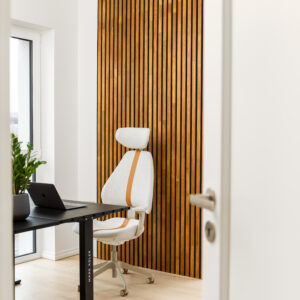
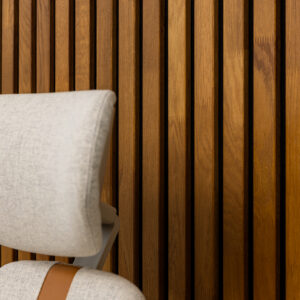
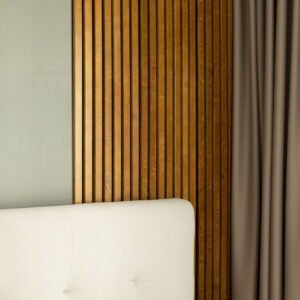
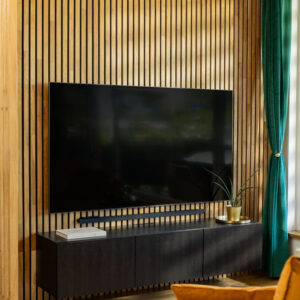
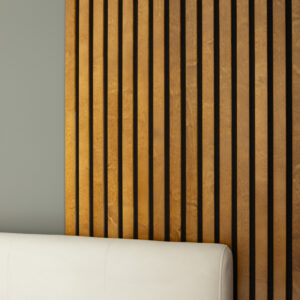
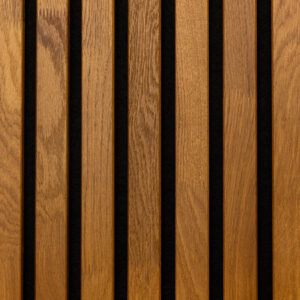
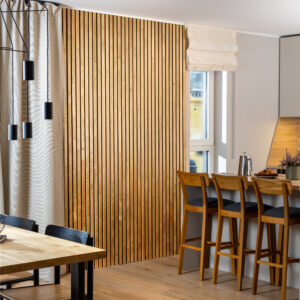
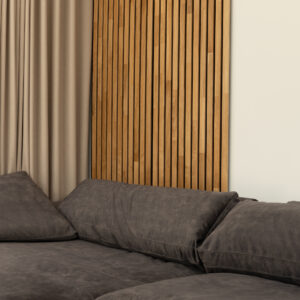
There is something unmistakable about the presence of solid wood; it instantly makes a room feel quieter, warmer, and more refined. However, achieving that high-end look requires more than just aesthetics. Proper installation is critical to account for the wood’s natural movement and to ensure the structure remains flawless for generations. When done correctly, wall paneling transforms a house into a home that is both visually stunning and acoustically balanced.
As a living material, solid wood constantly reacts to its environment. Installing high-quality wall panels requires a meticulous approach—from allowing for proper acclimatization to selecting the right fasteners. Whether you are installing classic solid wood panels and decorative details or modern acoustic slats, this guide will walk you through the professional process.
Essential Tools and Materials
Precision is the hallmark of a professional installation. Gathering the right tools before you begin will ensure cleaner cuts and a significantly smoother workflow.
- Measuring and Marking: A 5-meter measuring tape, a marking pencil, and a laser level are essential for ensuring panels are perfectly plumb and aligned.
- Cutting: Use a circular saw or a fine-toothed hand saw to prevent tearing the wood fibers or creating jagged edges.
- Fastening: Depending on your specific wall type and panel style, you will need high-tack construction adhesive, finishing nails, or specialized mounting clips.
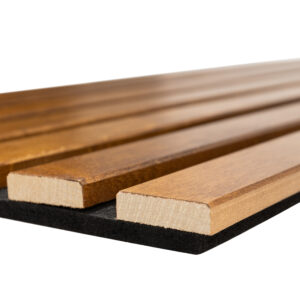
- Substructure: For uneven surfaces, 3/4-inch wooden furring strips (battens) are necessary to create a level base and provide essential ventilation behind the panels.
- Safety Gear: Always prioritize safety by wearing protective eyewear and a dust mask, particularly when cutting wood in enclosed spaces.
Surface Preparation and Acclimatization
The most common mistake in wood installation is rushing the process. Because wood is hygroscopic, it must adapt to the humidity of its new environment. Panels should acclimate in the installation room for 72 hours to 14 days. This allows the moisture content to stabilize. Skipping this step can lead to shrinking, warping, or unsightly gaps once the wood is fixed to the wall.
Before you begin, inspect the mounting surface. The wall must be clean, dry, and level—the maximum allowable variance is 3 mm over a 2.5-meter span. If you are installing over stone or concrete, which can harbor moisture, using furring strips is highly recommended. This creates an air gap that prevents moisture transfer and allows the wood to “breathe.”
-
-
Select options This product has multiple variants. The options may be chosen on the product page
- Wall panels
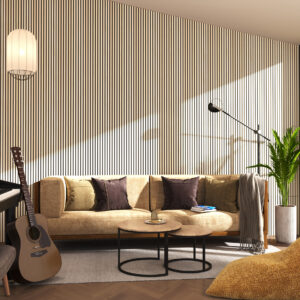
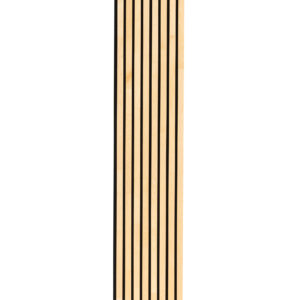
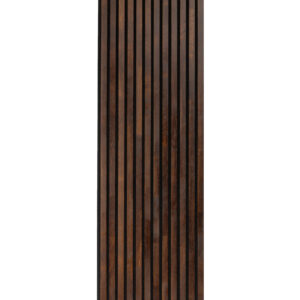
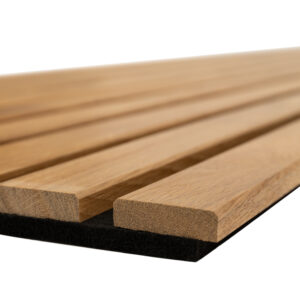
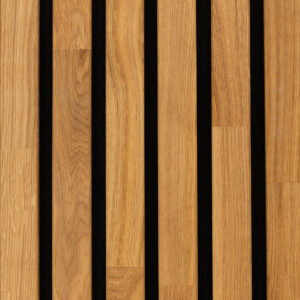
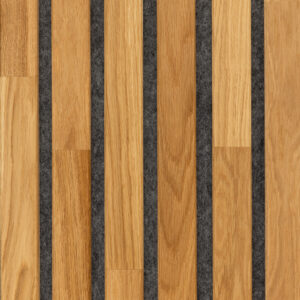
Acoustic wall panel – 18mm slats – 240×40 – natural solid birch
- Price range: 179.00€ through 305.00€
-
-
-

-

-
-
-
-
Select options This product has multiple variants. The options may be chosen on the product page
- Wall panels
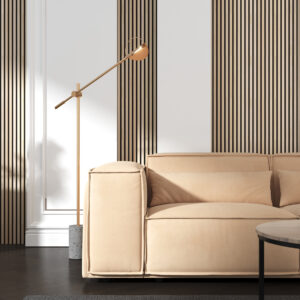
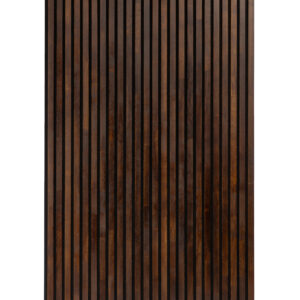
Acoustic wall panel – 18mm slats – 240×60 – dark solid oak
- Price range: 209.00€ through 365.00€
-
-
-

-
-
-
-
-
Select options This product has multiple variants. The options may be chosen on the product page

- Wall panels
Acoustic wall panel – 35mm slats – 240×40 – choco solid wood
- Price range: 179.00€ through 305.00€
-
-
-
-
-
-
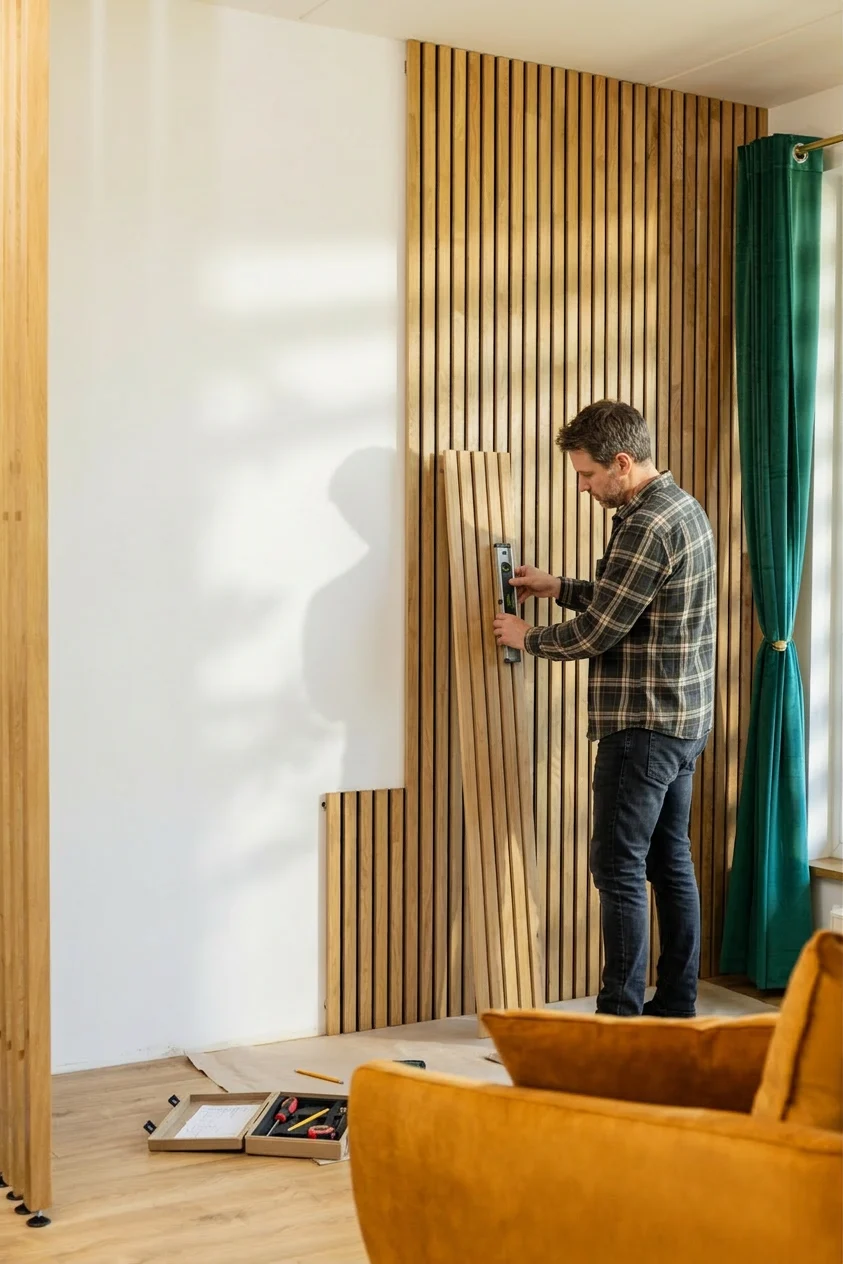
Key Installation Steps
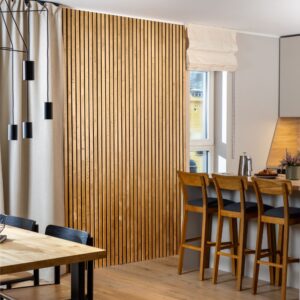
Wood elements offer limitless design potential; you can explore various creative applications in our article on the versatility of wall panels. regardless of the design, the foundation of a successful project lies in a disciplined installation sequence.
Planning and Layout
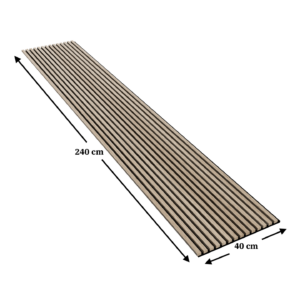
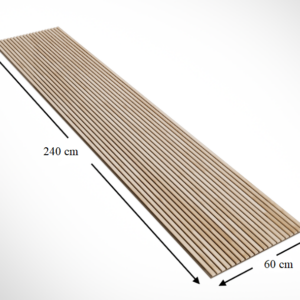
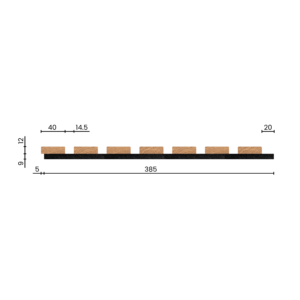
Begin by measuring the total wall area to calculate the material needed. For reference, Riverbank’s standard 2400×600 mm acoustic panels cover 1.44 m². Use your laser level to project a guide line for the first panel—the alignment of the entire wall depends on this initial placement.
Cutting and Expansion Gaps
Cut your panels to length, but always leave a 10–15 mm expansion gap at both the floor and the ceiling. This gap is vital; it allows the wood to expand and contract naturally with seasonal humidity changes without buckling. These gaps are easily concealed later with matching baseboards or crown moldings.
Securing the Panels
If you choose the adhesive method, apply a high-quality construction glue to the back of the panel in a zigzag pattern for maximum surface contact. Press the panel firmly into place and verify its level immediately. When using nails, drive finishing nails through the tongue of the panel or the felt backing of acoustic slats to keep them hidden. For acoustic panels, screws can be tucked discreetly into the felt between the wooden slats.
-
-
Select options This product has multiple variants. The options may be chosen on the product page
- Wall panels
Acoustic wall panel – 35mm slats – 240×40 – natural birch
- Price range: 179.00€ through 305.00€
-
-
-
-

-
-
-
-
Select options This product has multiple variants. The options may be chosen on the product page

- Wall panels
Acoustic wall panel – 35mm slats – 240×60 – choco solid oak
- Price range: 215.00€ through 365.00€
-
-
-

-
-
-
-
-
Select options This product has multiple variants. The options may be chosen on the product page
- Wall panels
Acoustic wall panel – 35mm slats – 240×60 – dark solid oak
- Price range: 215.00€ through 365.00€
-
-
-

-
-
-
-
-
Select options This product has multiple variants. The options may be chosen on the product page
- Wall panels
Acoustic wall panel – 40mm slats – 240×40 – natural oak
- Price range: 215.00€ through 365.00€
-
-

-

-
-
-
Maintaining the Beauty of Your Wood Walls
A solid wood wall is a long-term investment that requires minimal but consistent care. You can find more specific advice in our wood countertop maintenance guide, as the preservation principles are quite similar. Wood performs best when indoor relative humidity is maintained between 30% and 60%.
For routine cleaning, a soft microfiber cloth is perfect for removing dust. For a deeper clean, use a slightly damp (not wet) cloth with a pH-neutral cleaner. Avoid harsh chemicals or excessive water. If your panels are oiled, we recommend reapplying a fresh coat of maintenance oil every few years to enrich the wood’s color and reinforce its protective barrier.
-
-
Select options This product has multiple variants. The options may be chosen on the product page
- Wall panels
Acoustic wall panel – 40mm slats – 240×40 – dark solid oak
- Price range: 179.00€ through 305.00€
-
-

-
-
-
-
-
-
Select options This product has multiple variants. The options may be chosen on the product page

- Wall panels
Acoustic wall panel – 40mm slats – 240×60 – natural oak
- Price range: 215.00€ through 365.00€
-
-
-
-

-
-
Installing solid wood wall panels is a rewarding DIY project if you prioritize preparation and respect the natural properties of the wood. A well-installed wall does more than just look good—it improves acoustics and adds a timeless character to your home.
If you are looking for custom-sized solutions or expert advice on selecting the right wood species for your project, contact the craftsmen at Riverbank at +372 509 9151. Let’s bring your interior vision to life.