
Does a family heirloom or a well-loved dining table deserve a second life? While furniture restoration may seem like a daunting project, solid wood is an incredibly forgiving and rewarding material. With the right techniques and a bit of patience, you can revive even the most worn-out pieces to professional standards. Here is how to master the art of wood restoration in your own home.
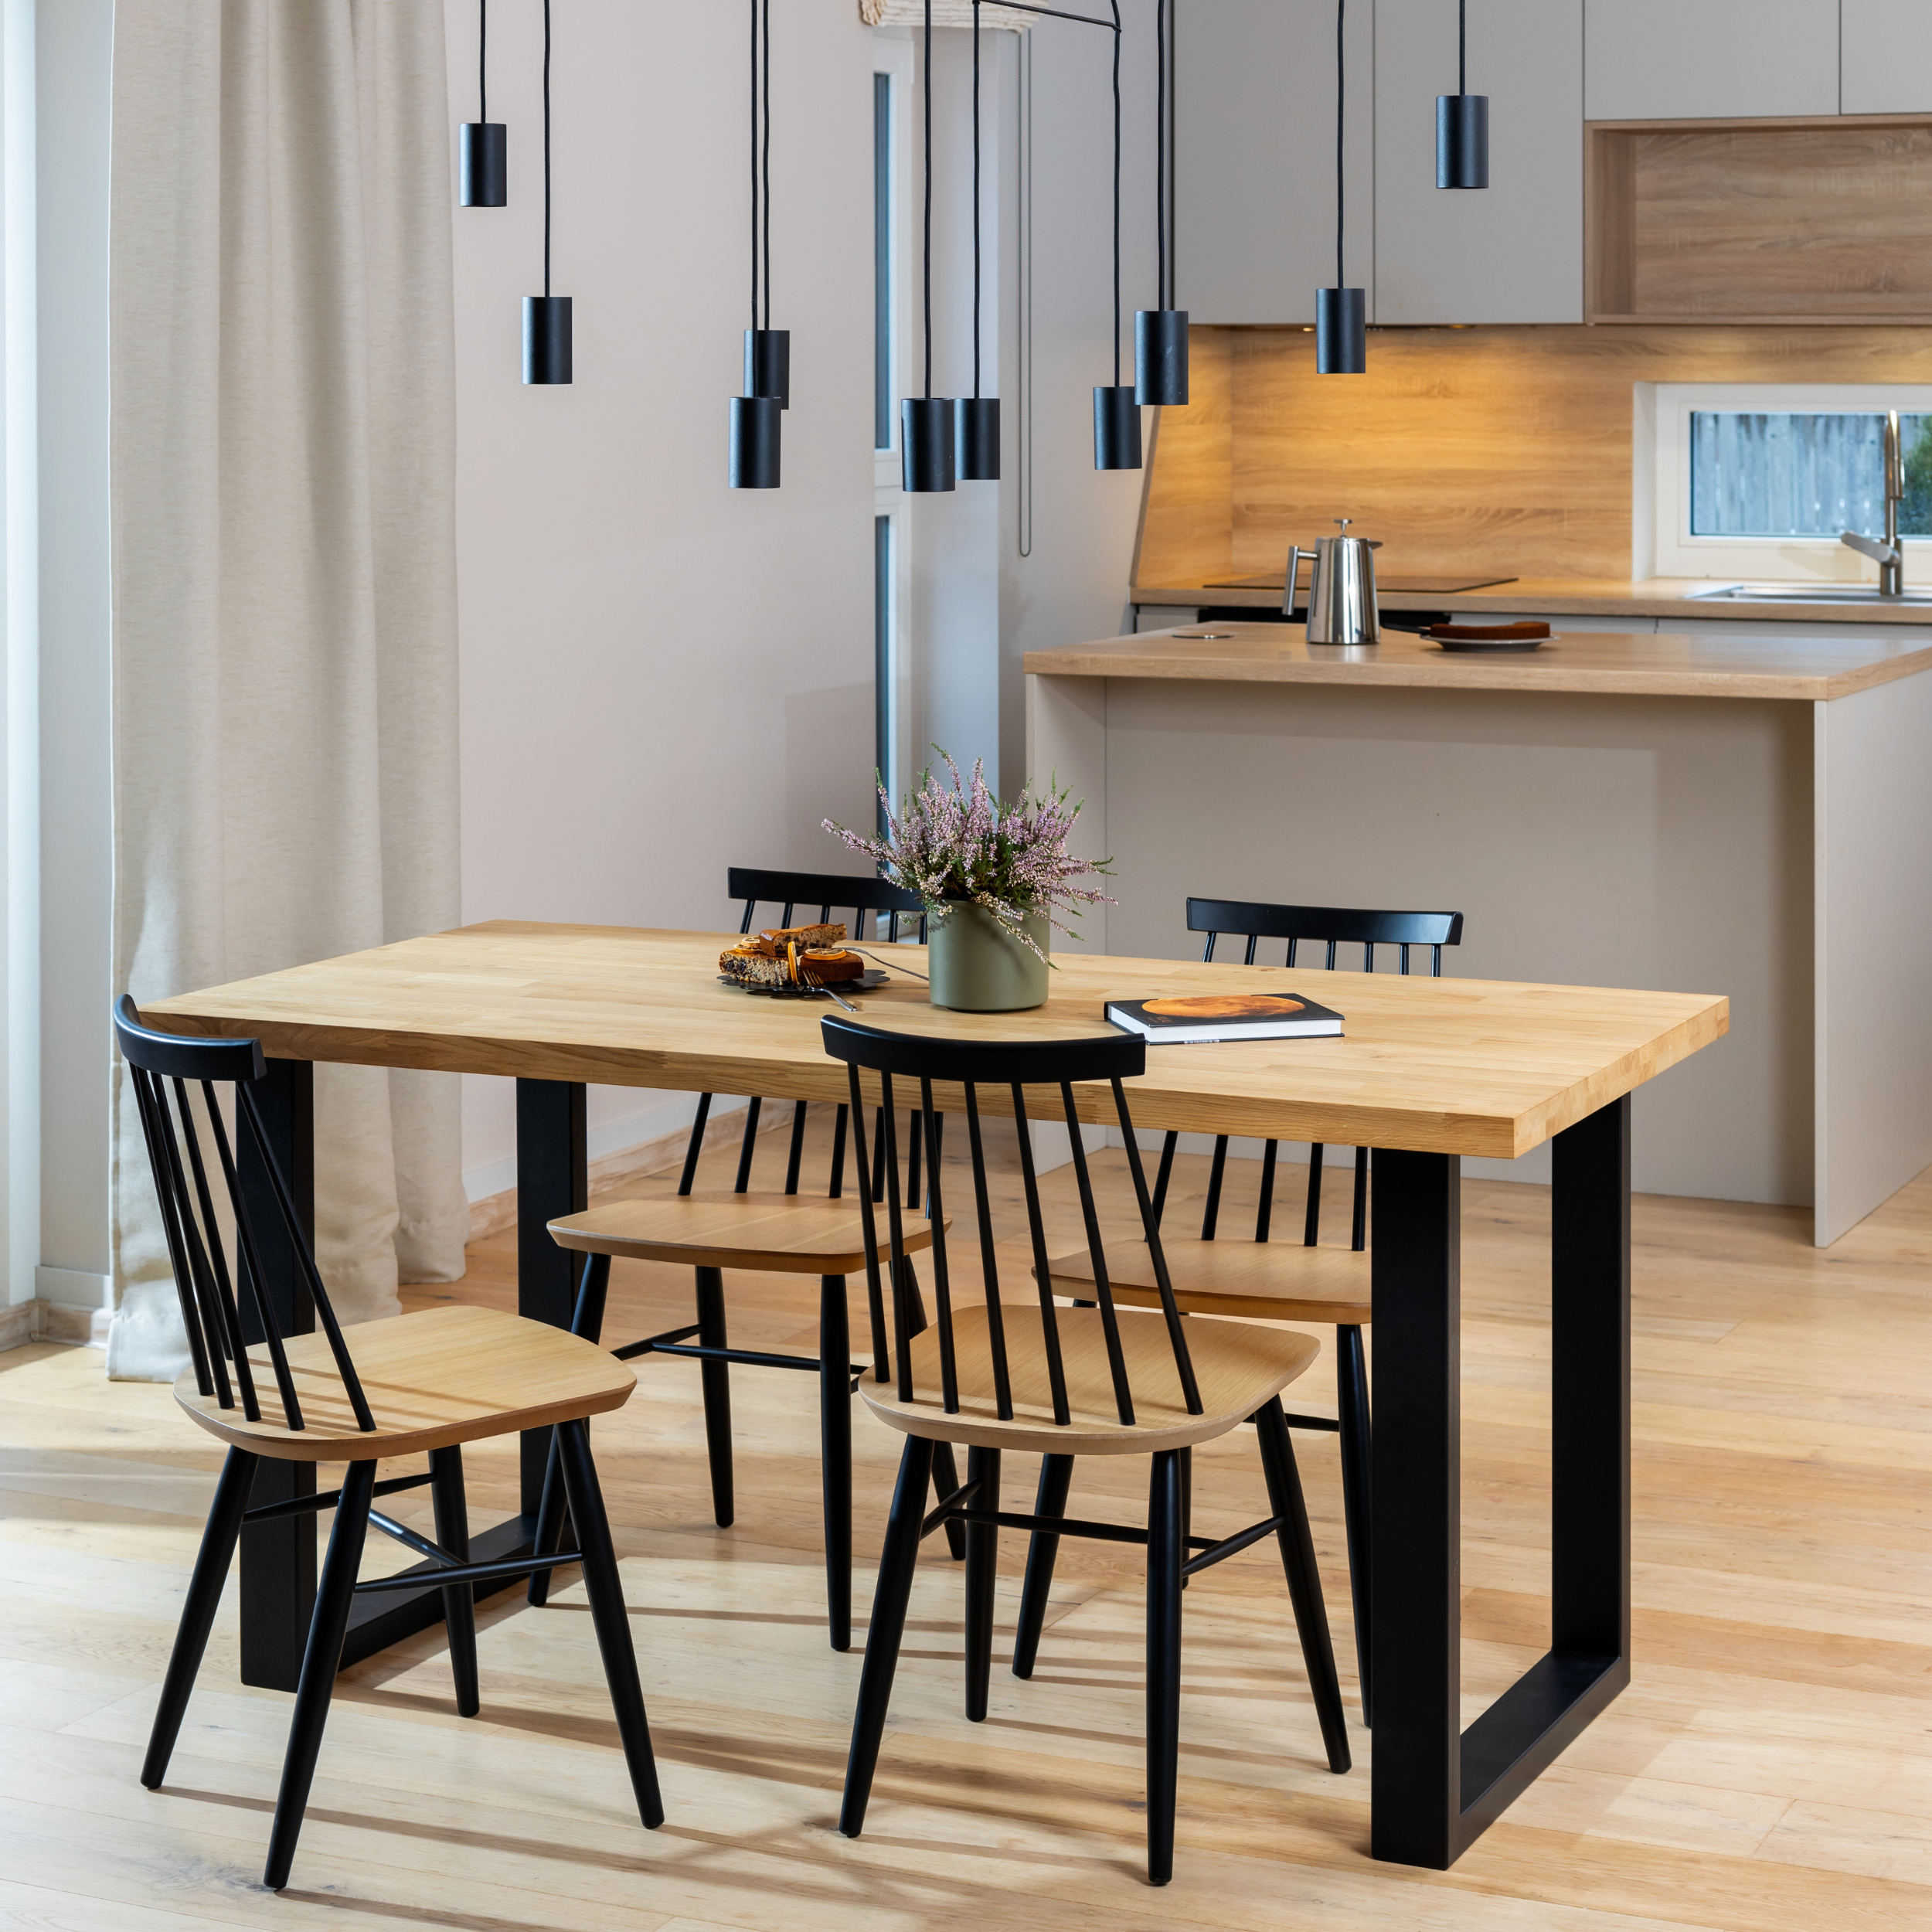
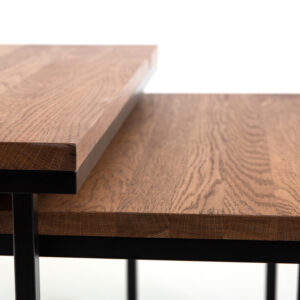
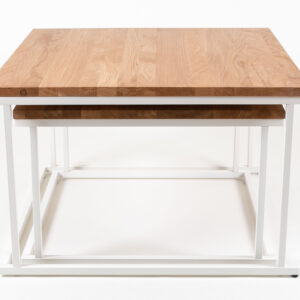
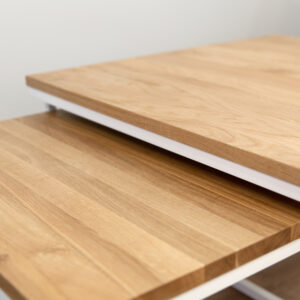
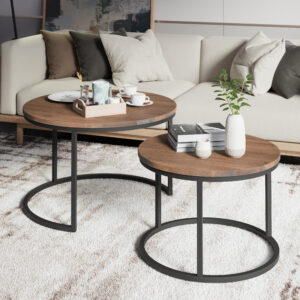
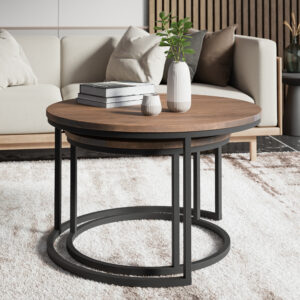
Solid wood furniture is a true long-term investment. Unlike veneer or laminate, it can be sanded and refinished multiple times, allowing it to evolve with your interior style for generations. If you are looking for a durable, high-quality centerpiece that will stand the test of time, explore our range of premium products.
-
-
-40%
Select options This product has multiple variants. The options may be chosen on the product page
- Dining Tables
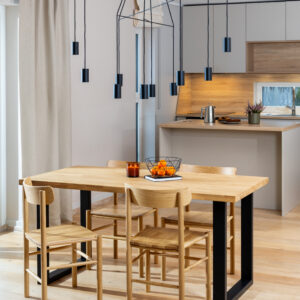
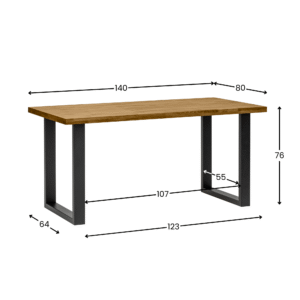
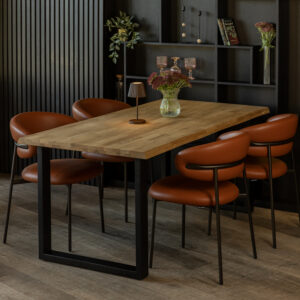
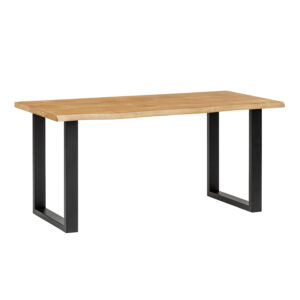
Dining Table LIIV
- Price range: 372.60€ through 399.60€
-
-
-
-
-
-
-40%
-
-
-40%
Select options This product has multiple variants. The options may be chosen on the product page
- Dining Tables
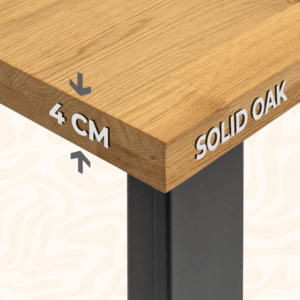
Dining Table MERI
- Price range: 372.60€ through 399.60€
-
-
-
-
-
-
-40%
-
-
-40%
Select options This product has multiple variants. The options may be chosen on the product page

- Dining Tables
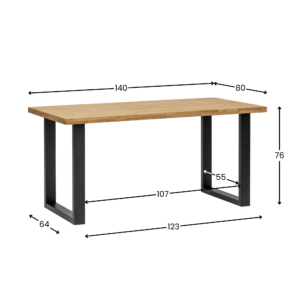
Dining Table PÄRL
- Original price was: 559.00€.335.40€Current price is: 335.40€.
-
-

-
-
-
-
-40%
Cleaning and Damage Assessment
Before reaching for your tools, the first step is a thorough cleaning to remove decades of built-up grime, grease, and old wax. Use warm water and a mild detergent, being careful not to over-saturate the wood, as excess moisture can cause the fibers to swell. For stubborn residue, mineral spirits (white spirit) are highly effective—just be sure to test a small, inconspicuous area first.
Once the piece is clean, perform a detailed assessment to determine the scope of the repairs. Look for the following common issues:
- Loose joints: These will require disassembly and re-gluing.
- Surface damage: Note any deep scratches, heat rings, or water stains.
- Structural integrity: Check for warping or structural cracks.
Small cracks can be corrected with a high-quality wood filler, but loose joints must be cleaned of old, brittle adhesive before being secured with professional-grade PVA wood glue (D3 or D4 grade). To understand the structural properties of wood better, you can read our article on the specifics of manufacturing glued laminated furniture.
Sanding: Stripping and Surface Preparation
Sanding is arguably the most critical stage of restoration. It removes the failing old finish and opens the wood pores to accept a new coating. The secret to a professional finish lies in a methodical grit progression; skipping steps will leave visible scratches under the final coat.
- Coarse (80–120 grit): Use this to strip away old lacquer or paint and level out surface imperfections.
- Medium (150 grit): This stage smooths the wood and removes the heavy scratches left by the coarse sandpaper.
- Fine (180–220 grit): This final pass creates a silky, even surface ready for oil or varnish.
The “golden rule” of woodworking is to always sand in the direction of the grain. Sanding across the grain creates “cross-grain” scratches that become painfully obvious once a finish is applied. While an orbital sander is excellent for large flat surfaces, intricate details and edges should always be finished by hand. For more technical insights into timber characteristics, see our guide on oak and birch processing methods.
Selecting and Applying the Right Finish
The right finish depends on how the furniture will be used and the aesthetic you want to achieve. Wood oil highlights the natural texture from within, whereas lacquer creates a protective film on top. Our comparison of oiled vs. lacquered dining tables can help you choose the best protection for your lifestyle.
Common finishing options include:
- Wood Oil: Offers a natural, matte appearance and is easy to “spot-repair” later, though it requires periodic reapplication.
- Lacquer/Varnish: Provides a hard-wearing barrier against moisture and scratches, ideal for high-moisture areas, but difficult to repair if chipped.
- Wax: Delivers a soft, traditional luster and a pleasant tactile feel, but offers minimal protection against heat and liquids.
- Hardwax Oil: A modern favorite that combines the natural look of oil with the durability of a wax-based barrier.
When applying oil, use a lint-free cloth or brush, let it penetrate the wood, and—crucially—wipe away any excess after the recommended time to avoid a tacky finish. The dining tables in our collection are finished with premium products to ensure beauty and longevity right out of the box.
Safety and Best Practices
Restoration involves fine dust and chemical vapors, so safety should never be an afterthought. Statistics indicate that a significant portion of DIY-related respiratory issues stem from inhaling sanding dust, which may contain particles from old lead-based paints or toxic resins.
Always wear a high-quality respirator and safety goggles. Ensure your workspace is well-ventilated, especially when using solvent-based stains or lacquers. A critical safety tip: oily rags used for finishing can spontaneously combust as they cure. Always soak used rags in water and dispose of them in a sealed metal container.
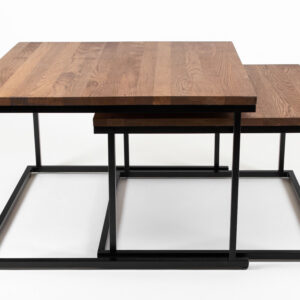
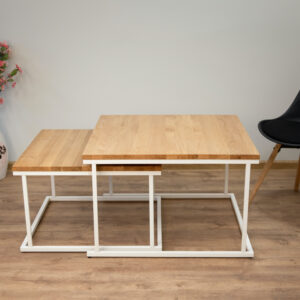
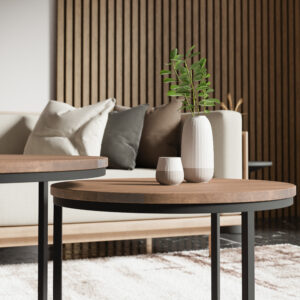
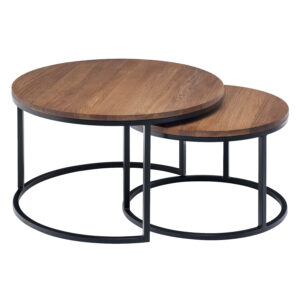
If you are a beginner, solid wood coffee tables are excellent “starter” projects due to their manageable size and flat surfaces.


Maintenance for a Lifetime of Use
After the hard work of restoration is complete, consistent maintenance is the key to preserving the result. Avoid harsh household cleaners and excessive moisture. Spills should be blotted immediately to prevent them from penetrating the finish.
Periodic inspections and timely re-oiling will keep the wood hydrated and protected, a topic we cover in depth in our article on the importance of regular maintenance for glued laminated wood. Restoration is a labor of love, but it rewards you with a unique, soulful piece of furniture. If you prefer to start fresh with a professionally crafted solid wood piece, browse our online store or contact our experts at +372 509 9151.