



Working with oak and birch requires distinct approaches at every stage of production, from initial milling to final finishing. Overlooking the physical differences between these two species—whether through rushed drying schedules or mismatched surface treatments—can quickly lead to warping, joint failure, or unsightly blotching. This guide breaks down the essential woodworking techniques needed to get the best performance and aesthetic results from both oak and birch.
Wood Characteristics and Mechanical Processing
While oak and birch are both staples in furniture making and architectural joinery, their mechanical properties call for different handling on the shop floor.
- Oak is prized for its high density and sheer hardness (with a Janka rating of roughly 1,360 lbf) and a bending strength reaching up to 33.5 MPa. Its coarse, ring-porous grain cuts cleanly under the right conditions, but the sheer toughness of its fibers demands razor-sharp carbide tooling and moderate feed rates to prevent tool burn and premature cutter wear.
- Birch is a dense, fine-grained hardwood (averaging 657.71 kg/m³) noted for its superior elasticity and uniform texture. While straightforward to rip, plane, and turn, birch often features wavy or interlocked grain that is prone to tear-out unless cutter heads are kept sharp and knives are set to an optimal cutting angle.
For an in-depth material breakdown, consult our durability comparison of oak and birch glued laminated timber.
Wood Drying and Moisture Content Management
Both species give up moisture slowly. Regulating the rate of moisture loss is essential to relieve internal stresses and avoid structural defects in the finished timber.
- Air drying is the first step, shedding bulk free water from the green wood. In Northern European and Nordic climates, air-drying 25 mm rough-sawn boards down to roughly 25% moisture content typically takes anywhere from 200 to 300 days.
- Kiln drying finishes the process, bringing lumber to an equilibrium moisture content suitable for interior environments. For edge-glued panels and indoor furniture, target moisture levels sit between 6% and 8% (Riverbank panels are consistently dried to 8% ±2%).
- Drying defects stem from rapid shifts in kiln temperature or ambient humidity. Moving too fast risks surface checks, end splits, cupping, and irreversible internal honeycombing.
Sawing, Planing, and Edge-Gluing Techniques
When manufacturing glued laminated panels, bond integrity depends entirely on edge preparation. Faces must be true, flat, and free of planer chatter or glazed burn marks before glue is applied. For the strongest joint, edge-plane components immediately before assembly.
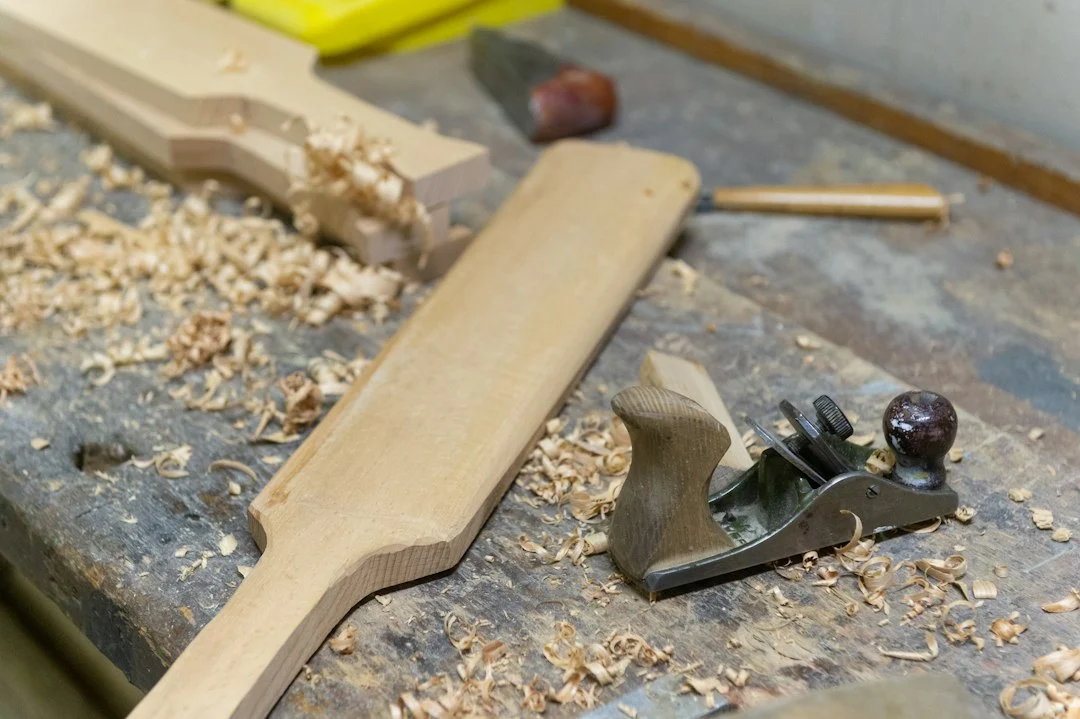
Joint edges must be machined to a precise 90° angle to distribute clamping forces evenly along the entire glue line.
To guarantee high-strength, long-lasting glue bonds:
- Select high-grade, moisture-resistant PVAc adhesives (EN 204 class D3 or D4) based on the product’s intended service environment.
- Apply even clamping pressure across the assembly. Typical press cycles run between 2 and 4 hours at an ambient shop temperature of at least 18 °C.
- Let freshly pressed panels rest in a stable, climate-controlled setting for at least 24 hours to equalize before further sizing or surfacing.
For deeper insight into shop operations, read our guides on glued laminated timber manufacturing technologies and key considerations in crafting glulam furniture.
Sanding, Staining, and Finishing
A professional finish always begins with systematic surface prep. Work progressively through sanding grits—starting around P80–P120 to remove machine marks and ending at P180–P220. Always stroke with the grain and thoroughly vacuum the surface to clear away trapped dust before applying any coating.
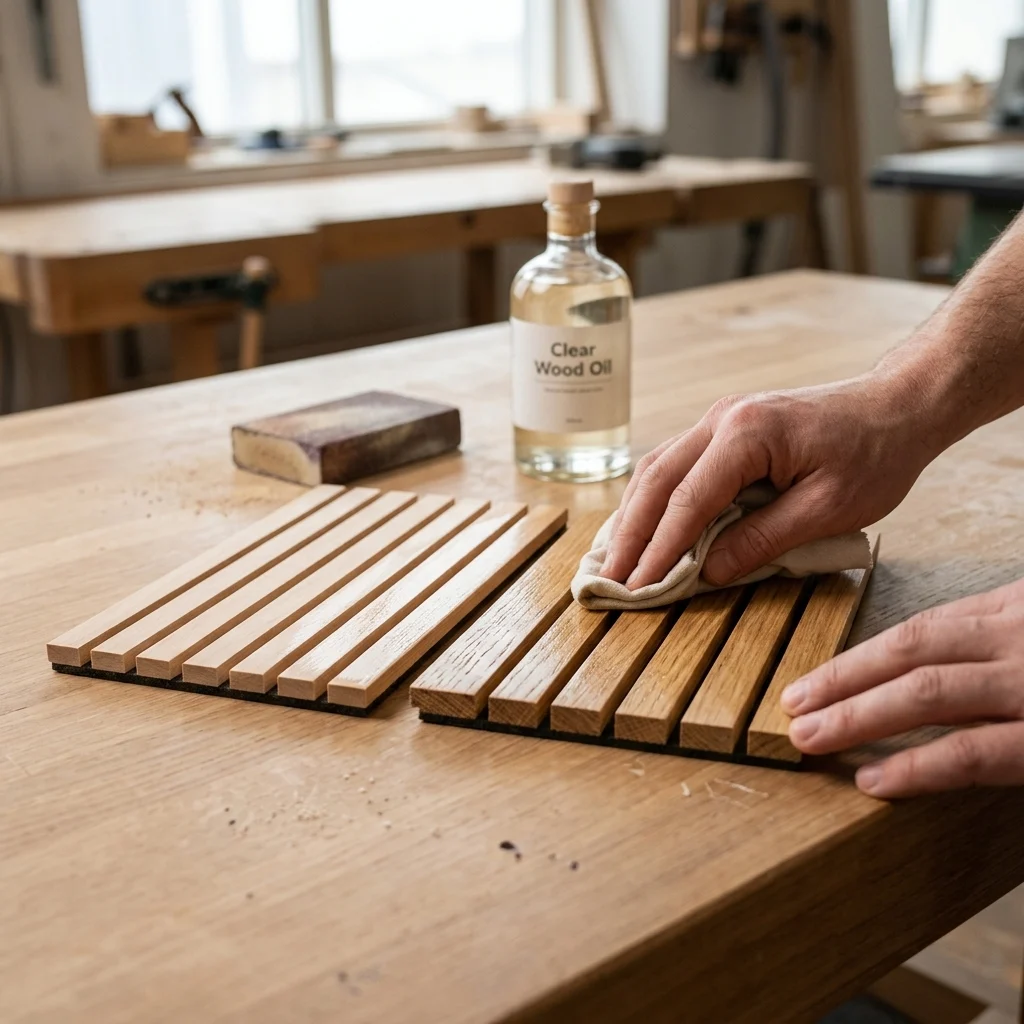
- Birch has varying pore density that tends to absorb liquid penetrating stains unevenly, leading to blotching. Applying a pre-stain washcoat or opting for high-viscosity gel stains produces a clean, consistent color.
- Oak features prominent open pores. Applying stains or finishing oils in a circular motion works the product deep into the grain; always wipe off excess finish parallel to the grain.
- Oiling emphasizes the wood’s tactile character and rich grain patterns, though it requires periodic upkeep. Lacquering builds a hard-wearing, impermeable film that offers superior defense against standing water, household spills, and abrasions.
For practical advice on selecting finishes, explore our articles on lacquered wooden worktops, oiled wooden worktops, and our head-to-head review of oiled vs. lacquered dining table tops. You can also read our overviews on glued laminated timber finishing and treatment as well as color selection and finishes for wall panels.
Specifications, Quality Grades, and Applications
Glued laminated timber panels are produced in two main formats: finger-jointed panels (which maximize dimensional stability and yield across longer spans) and full-stave panels (featuring continuous, unjointed lamellas that preserve the natural, uninterrupted grain flow).
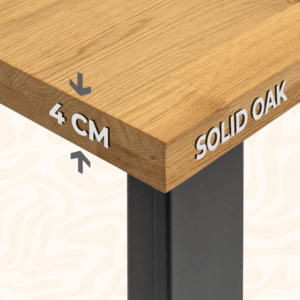
- Standard panel thicknesses run from 15 to 50 mm. Use 15–20 mm stock for wall paneling and cabinet fronts, 25–35 mm for interior furniture frames, and 40–50 mm for heavy-use kitchen counters, workbenches, and tabletops.
- Maximum manufacturing dimensions reach up to 4,000 mm in length and 1,300 mm in width.
- Visual grading standards (A/A, A/B, B/B, and B/C) define allowable tolerances for pin knots, sound heartwood, sapwood streaks, and color variations across faces.
Solid oak and birch elements bring natural warmth and structural reliability to modern architectural projects. Browse our standard collections of dining tables, coffee tables, and acoustic wall panels.
-
-
Select options This product has multiple variants. The options may be chosen on the product page
- Wall panels
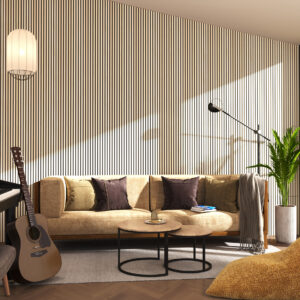
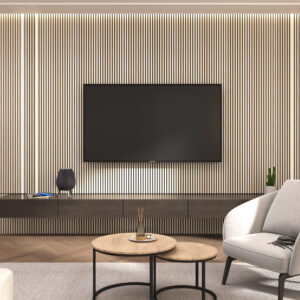
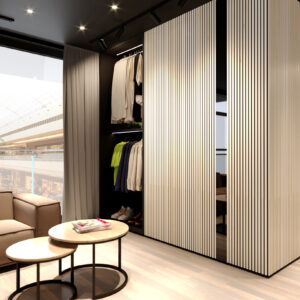
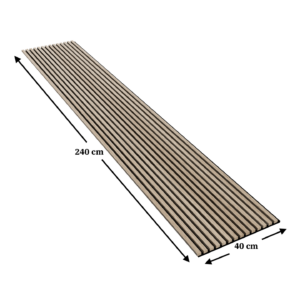
Acoustic wall panel – 18mm slats – 240×40 – natural solid birch
- Price range: 179.00€ through 305.00€
-
-
-
-
-
-
-
-
Select options This product has multiple variants. The options may be chosen on the product page
- Wall panels
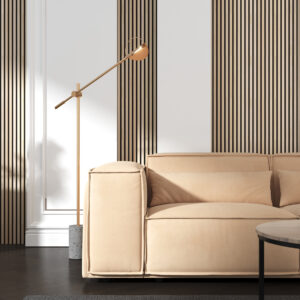
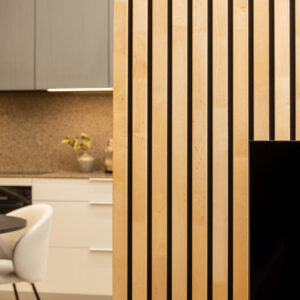
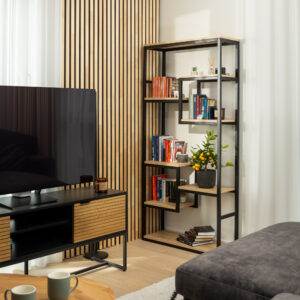
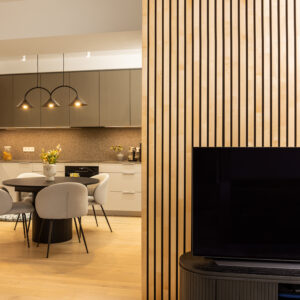
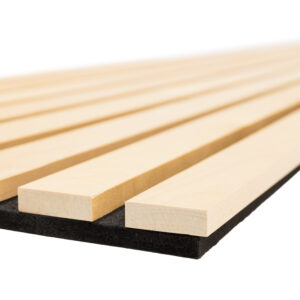
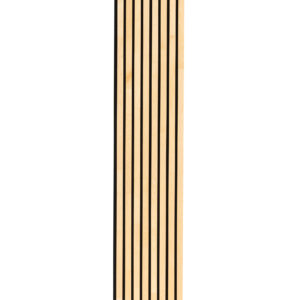
Acoustic wall panel – 35mm slats – 240×40 – natural birch
- Price range: 179.00€ through 305.00€
-
-
-
-
-
-
-
-
Select options This product has multiple variants. The options may be chosen on the product page
- Wall panels
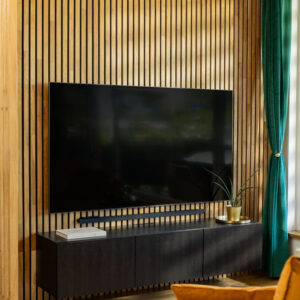
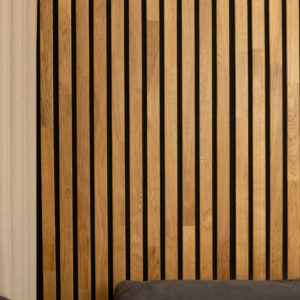
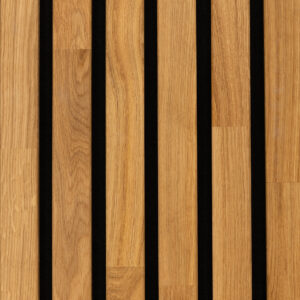
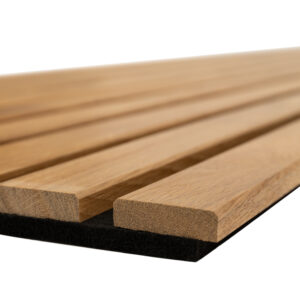
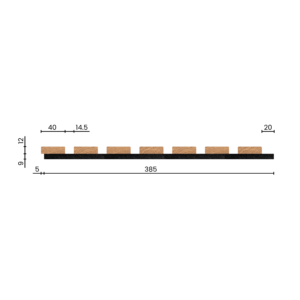
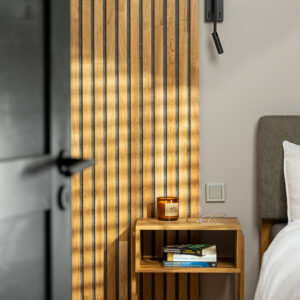
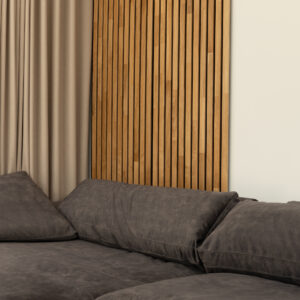
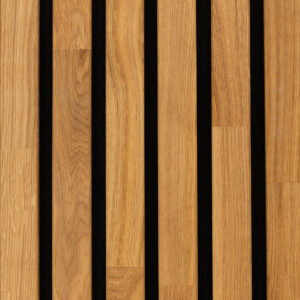
Acoustic wall panel – 40mm slats – 240×40 – natural oak
- Price range: 215.00€ through 365.00€
-
-
-
-
-
-
-
-
Select options This product has multiple variants. The options may be chosen on the product page
- Wall panels
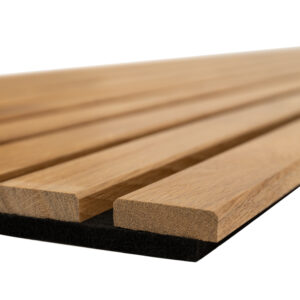
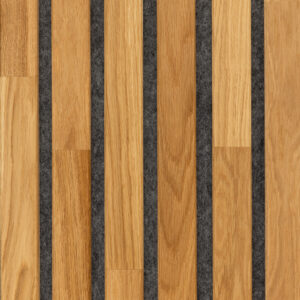
Acoustic wall panel – 40mm slats – 240×60 – natural oak
- Price range: 215.00€ through 365.00€
-
-
-
-
-
-
-
-
-40%
Select options This product has multiple variants. The options may be chosen on the product page
- Dining Tables
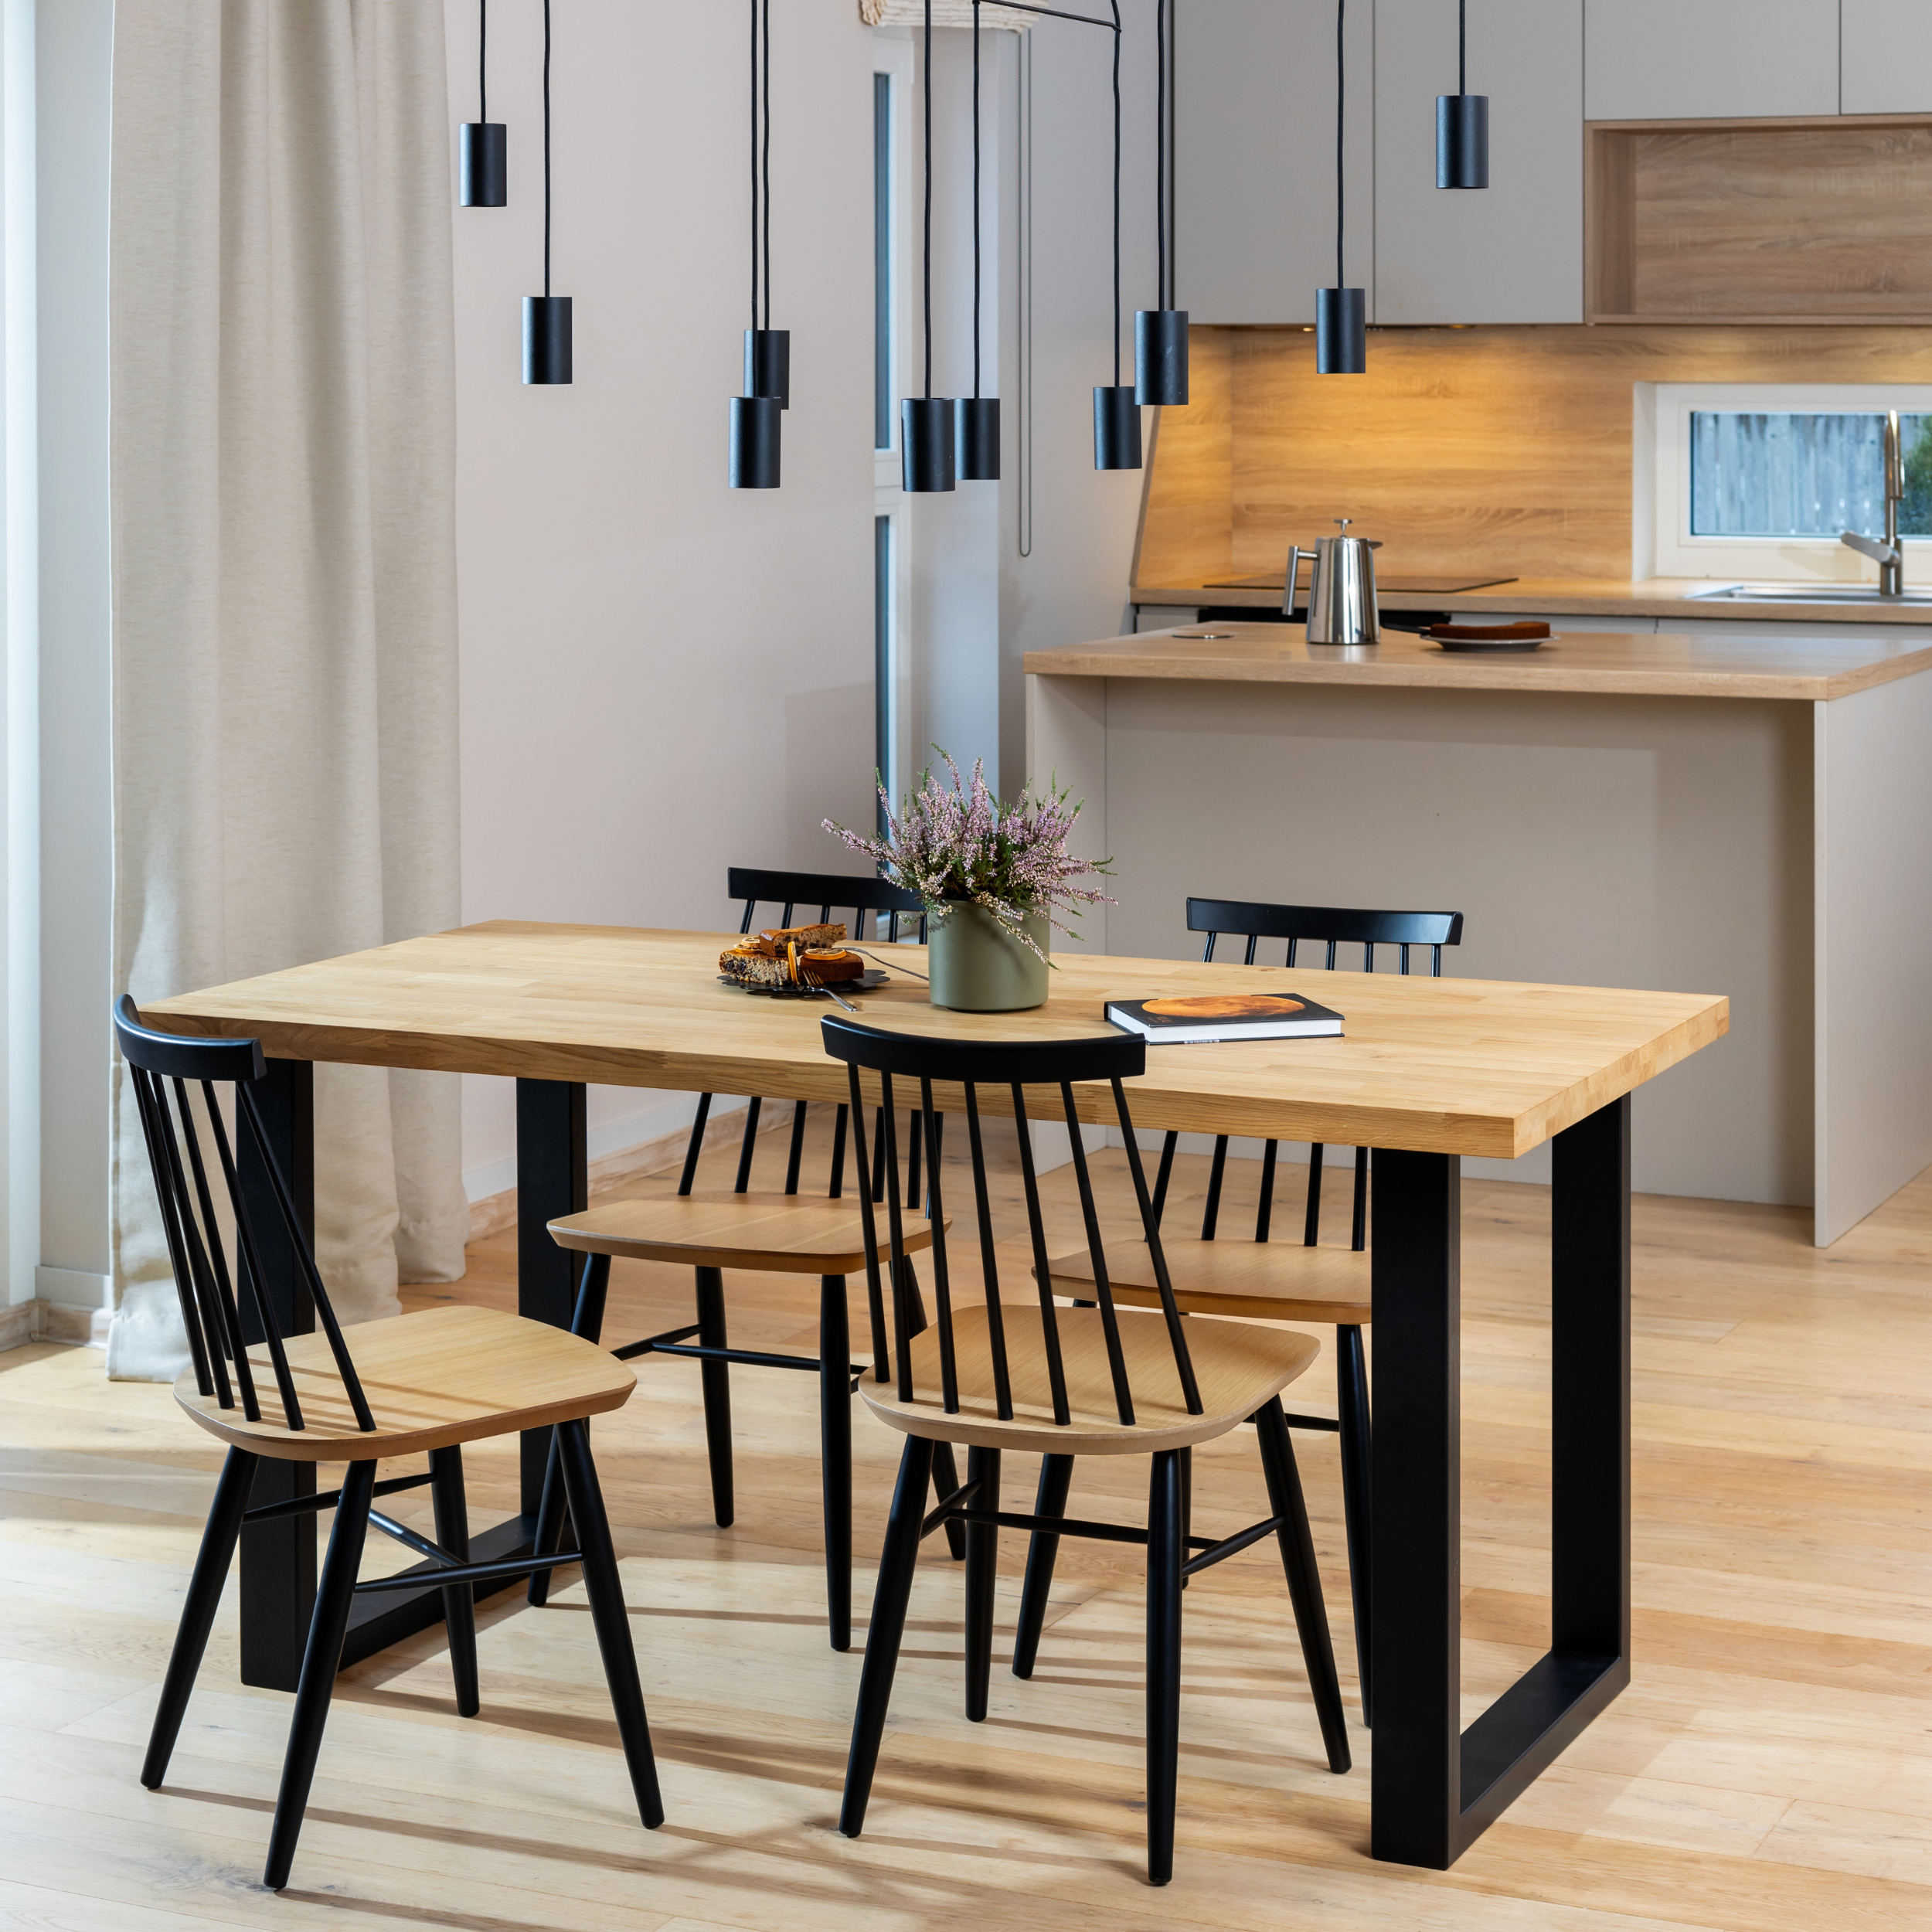
Dining Table LIIV
- Price range: 372.60€ through 399.60€
-
-
-
-
-
-
-40%
-
-
-40%
Select options This product has multiple variants. The options may be chosen on the product page
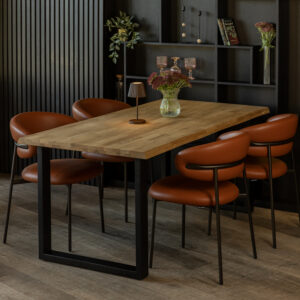
- Dining Tables
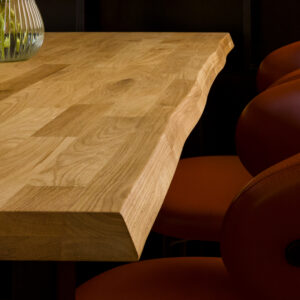
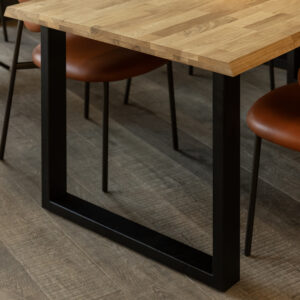
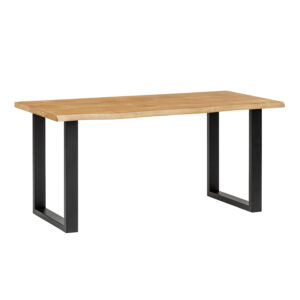
Dining Table MERI
- Price range: 372.60€ through 399.60€
-
-
-
-
-
-
-40%
-
-
-40%
Select options This product has multiple variants. The options may be chosen on the product page
- Dining Tables
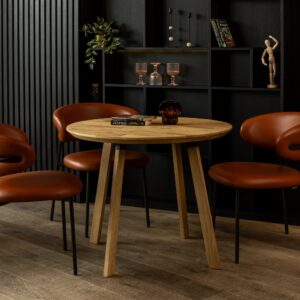
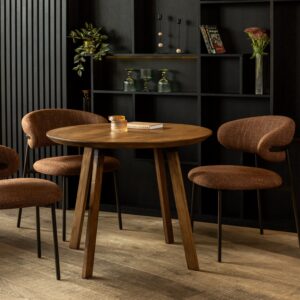
Dining Table PÄRL
- Original price was: 559.00€.335.40€Current price is: 335.40€.
-
-
-
-
-
-
-40%
Maintenance, Restoration, and Care
Solid timber and edge-glued components respond naturally to their surroundings. To check if an oiled surface needs attention, use the water drop test: if a drop of water beads up, the protection is intact; if the water begins to wet out or darken the wood, it is time for a fresh coat of oil.
- Straightforward repairability is one of solid wood’s biggest advantages. Light surface scratches and localized scuffs can simply be buffed out using fine sandpaper (P220) and spot-treated with oil.
- Environmental control: Keep solid wood installations clear of direct, unshielded heat sources, and maintain stable indoor humidity to minimize seasonal expansion and contraction.
For detailed maintenance schedules, see our guides on caring for oak worktops and restoring solid wood at home.
Matching the right processing methods to high-grade raw timber ensures your projects stay structurally sound and visually striking for decades. To discuss panel specifications or request a quote for custom-dimensioned oak or birch components, get in touch with the Riverbank team at +372 509 9151.