



Nothing matches the warmth, character, and tactile feel of a genuine oiled timber worktop—provided you are willing to give it a little care in return. Here is a practical guide to deciding whether an oiled finish suits your space, selecting the ideal timber species and thickness, and avoiding critical pitfalls during installation.
| Question | Quick Answer |
|---|---|
| Standard kitchen thickness | 25–30 mm |
| Island or overhang thickness | 40–50 mm (with dedicated structural support beneath any overhang) |
| Timber species | Oak for durability and rich, warm tones; birch for a paler, Scandinavian look at a lower price point |
| Initial oiling | 2–3 thin coats applied per the manufacturer’s guidelines, covering all cut edges and the underside |
| Custom sizing | Riverbank produces bespoke panels up to 4,000 × 1,300 mm, in thicknesses from 15 to 50 mm |
Oiled vs. Lacquered Finishes: When to Choose Oil
While lacquer creates an impervious surface film, oil sinks deep into the timber pores, protecting the grain from within while keeping its natural texture intact. Deciding between the two comes down to how you balance maintenance against living with authentic wood.
Key benefits of an oiled finish:
- True tactile warmth: The timber’s open grain remains completely natural under your hands.
- Easy localized repairs: Scratches, scuffs, and minor stains can be spot-sanded and touched up without having to strip down the entire counter.
- Straightforward upkeep: Routine re-oiling is a simple DIY project that takes just an hour or two.
The tradeoff is that an oil finish gradually wears down through daily wiping and use, requiring periodic reapplication. Rather than stripping the timber, you simply wipe a thin, fresh coat over clean wood. If you prefer a completely hands-off surface, review our guide to lacquered wooden worktops before making your choice.
Hardwax-oil blends—which combine penetrating oils with durable waxes—cure within the wood’s uppermost fibers to offer noticeably better stain and moisture resistance than pure finishing oils, which need more frequent reapplication.
Solid Wood Panels: Finger-Jointed vs. Full Stave
Most timber worktops are crafted from edge-glued panels made of individual wood staves. Because adjacent staves naturally counteract each other’s movement, edge-glued panels offer far greater dimensional stability than a single wide slab of timber.
Riverbank manufactures panels in two distinct styles: finger-jointed and full stave. Finger-jointed panels use shorter staves interlocked along their length; they are up to 20% more cost-effective and structurally ideal for long, stable runs up to 4,000 mm. Full stave panels feature continuous boards running the entire length of the surface for an unbroken, premium grain pattern. For a closer look, read about the advantages of finger-jointed timber.
To weigh timber against alternatives such as stone, quartz, or laminate, consult our comprehensive guide to the pros and cons of wooden worktops.
Selecting the Right Thickness: 15, 30, or 50 mm
A worktop’s thickness defines both its visual presence and its structural capacity. Riverbank manufactures solid wood panels in gauges from 15 mm to 50 mm:
- 15–20 mm: Delivers a slim, contemporary aesthetic. Requires continuous support from the underlying cabinetry carcass.
- 25–30 mm: The versatile standard for traditional and modern residential kitchens alike.
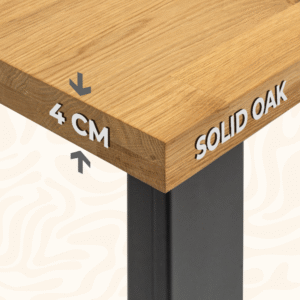
- 40–50 mm: Provides a bold, robust edge profile. Highly recommended for freestanding islands and heavy-use culinary prep zones.
According to manufacturer guidelines, any overhang exceeding 200 mm (such as an integrated breakfast bar) requires supplemental support, such as steel brackets or legs. For instance, a 300 mm island seating overhang calls for a 40–50 mm panel combined with structural brackets or support legs—thickness alone cannot prevent deflection over time. For more help tailoring panel dimensions, consult our worktop thickness guide.
Oak vs. Birch
Oak is a dense, hard-wearing hardwood with a Janka hardness rating of 1,360 lbf (for white oak, per the USDA Wood Handbook). However, oak is naturally rich in tannic acid, which reacts chemically with iron. When moisture is present, contact with steel wool, rusting metal, or non-galvanized fasteners creates unsightly dark gray or bluish-black tannin stains—a reaction well-documented by the USDA Forest Service. Keep steel wool far away from oak surfaces, and always clean up standing water near cast-iron cookware.
Birch offers a brighter, creamier hue with a subtler, more uniform grain. Riverbank estimates that birch panels are roughly 15–20% less expensive than oak. That said, birch is softer and demands more frequent maintenance. Riverbank recommends re-oiling oak roughly once every 12 months, whereas birch surfaces benefit from a refresh every 6 months.
Rather than relying purely on the calendar, use the simple water droplet test: place a few drops of water on the surface; if they bead up tightly, the finish is intact. If the water spreads out and darkens the timber, it is time to re-oil. For a head-to-head performance breakdown, see our comparison between oak and birch edge-glued panels. You can also read dedicated guides for oak kitchen worktops and birch kitchen worktops.
Oiling: How to Apply a Flawless Initial Finish
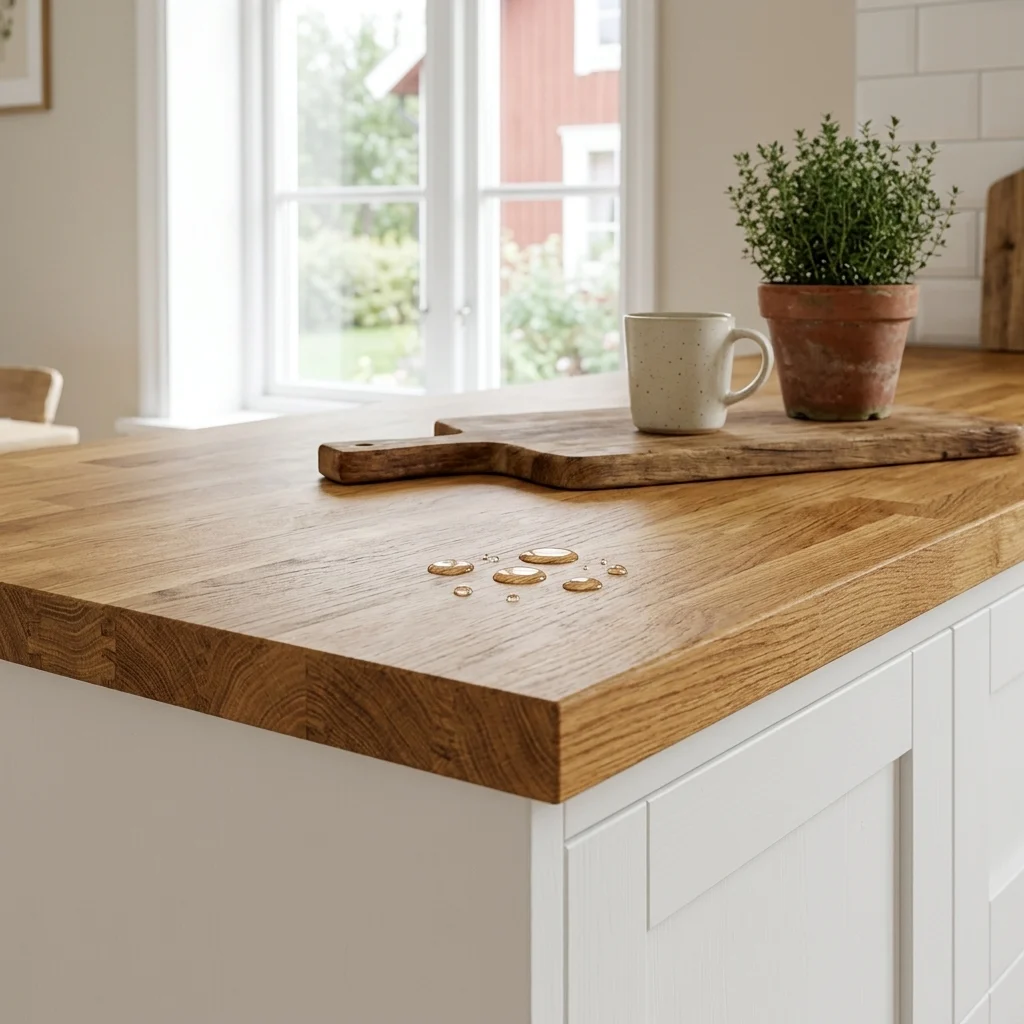
Always follow your chosen finish manufacturer’s application guidelines, as drying and curing rates vary widely. Osmo, for instance, recommends applying two thin coats of TopOil to bare timber, allowing 8–10 hours of drying time between applications under ambient conditions. Woca worktop oil typically calls for 2–3 initial coats prior to service, while Leinos 280 requires a full 7-day cure before it is certified food-safe.
Best practices for initial finishing:
- Apply sparingly along the grain: Lay down ultra-thin, uniform coats and wipe off any excess after 10–15 minutes. Heavy applications remain tacky and attract dust.
- Seal every surface: Oil the underside and all end-grain profiles alongside the top face. Cut end grain acts like a bundle of straws, absorbing airborne moisture far faster than face grain.
- Protect cutouts immediately: Coat cutouts for hobs and under-mount or drop-in sinks immediately. Manufacturers recommend applying at least three thorough coats to newly cut edges where raw grain has been exposed.
A note on food safety: The commonly cited standard EN 71-3 regulates toy safety and heavy-metal migration; it does not automatically certify an oil for direct food contact. Brands like Osmo specifically test against food-contact standards (such as EN 1186, parts 5/14 for TopOil). If you intend to prep food directly on the wood, verify the manufacturer’s certified food-safe declaration.
To see how Riverbank’s oiled oak looks in finished interiors, browse our oiled oak dining tables:
-
-
-40%
Select options This product has multiple variants. The options may be chosen on the product page

- Dining Tables
Dining Table LIIV
- Price range: 372.60€ through 399.60€
-
-

-
-
-
-
-40%
-
-
-40%
Select options This product has multiple variants. The options may be chosen on the product page

- Dining Tables
Dining Table PÄRL
- Original price was: 559.00€.335.40€Current price is: 335.40€.
-
-

-
-
-
-
-40%
Installation: Essential Steps to Keep Timber Flat
For detailed step-by-step guidance, refer to our complete guide to wooden worktop installation. Keep these key rules in mind:
- Acclimatisation: Rest the panel flat in the installation space beforehand. Manufacturers typically recommend between 24 hours and at least three full days—longer during unheated winter deliveries. Riverbank timber arrives conditioned to an 8% (±2%) moisture content; ambient indoor relative humidity should sit between 40% and 60%.
- Expansion gaps: Wood expands and contracts across its width as seasons change. Always leave an expansion gap of 3–7 mm between the timber edge and any adjoining wall or fixed tall unit.
- Slotted fixings: Secure the top to the base units using slotted expansion brackets rather than rigid, standard screw holes. This allows the wood to move naturally without cupping or splitting.
- Wet zone protection: Guard against heat and steam by installing an aluminum moisture barrier on the underside directly above dishwashers, and seal sink perimeters with a continuous, high-grade neutral silicone bead.
- Cutout margins: Keep sink and cooktop cutouts at least 100 mm away from end joints and from each other, reinforcing narrow bridge strips from below.
- Heat clearances: Always cross-reference the clearance requirements from your hob and oven manufacturers against worktop safety guidelines.
Low-Effort Routine Maintenance
- Daily: Wipe up spills quickly using a well-wrung, slightly damp microfiber cloth.
- Monthly: Run the droplet test around high-wear zones (such as next to the sink).
- When looking dry or dull: Clean thoroughly, let dry, and wipe on a whisper-thin maintenance coat of hardwax-oil.
- Scratches and localized stains: Lightly hand-sand the affected area along the grain using fine-grit abrasive paper, then work in a small touch-up dab of oil. For a complete guide to preserving timber surfaces, see how to care for oak worktops.
Custom Orders: Dimensions, Grades, and Finishes
Riverbank crafts custom worktops cut precisely to your project’s specifications:
- Lengths: Up to 4,000 mm; widths: up to 1,300 mm
- Thicknesses: 15 to 50 mm
- Timber: European Oak or Nordic Birch
- Finishes: Oiled, lacquered, UV-cured, or raw/untreated
Grading Options: AB grade features a hand-selected, virtually defect-free face with balanced grain and uniform color. BC grade allows small, sound knots and natural timber character on the face, with broader tonal variation and sound knots permitted on the underside. Choose AB grade for crisp, modern, light-stained schemes; opt for BC grade when you want a rich, rustic look or are managing a tighter project budget.
An oiled timber worktop is the ultimate choice if you value authentic materials that develop a rich patina over time. Have your kitchen measurements ready? Call +372 509 9151 to discuss your project with Riverbank—all custom dimensions, edge profiles, and finishes can be tailored directly to your plans.